How to Fix a Leaking Bathtub Faucet or Know When It’s Time to Replace It
Key Takeaways:
- A leaking bathtub faucet is almost always caused by one of a few worn parts—washers, O-rings, valve seats, or cartridges—so identifying which one is failing saves you time and money before you start.
- Always shut off your home’s main water supply before taking a bathtub faucet apart, since most tub faucets don’t have their own dedicated shutoff valve.
- Where the leak shows up (spout, handle, or hidden behind a wall) tells you a lot about the cause, so watching the faucet in action before disassembling it is a smart first step.
- Compression faucets (two handles) and cartridge faucets (one handle) require different repair approaches, and cartridges in particular need an exact brand and model match to work properly.
- If you’ve repaired the same faucet more than once in a year, notice visible corrosion, or can’t find replacement parts anymore, that’s a strong signal to replace the whole fixture rather than keep patching it.
- When buying a new faucet, prioritize solid brass construction and a ceramic disc valve, since both hold up far better against corrosion and wear over time.
- Simple habits like avoiding over-tightening handles, managing hard water buildup, and checking pressure levels can meaningfully extend the life of a faucet after a repair or replacement.
That steady drip-drip-drip coming from your bathtub faucet isn’t just annoying at 2 a.m. It’s wasting water, driving up your utility bill, and possibly signaling a bigger plumbing issue waiting to happen. The good news is that most bathtub faucet leaks are fixable with a few basic tools and about an hour of your weekend. The trickier part is knowing when a repair is just a temporary band-aid and when you’re better off replacing the whole fixture.
This guide walks you through both paths. We’ll cover why bathtub faucets leak in the first place, how to diagnose the exact cause, step-by-step fixes for the most common culprits, and the clear signs that tell you it’s time to stop patching and start shopping for a new faucet.
Why Is Your Bathtub Faucet Leaking in the First Place?
Before you grab a wrench, it helps to understand what’s actually happening behind that wall. Bathtub faucets are simple in concept but they rely on a handful of small components working together to control water flow. When one of those parts wears out, water finds a way through. Here are the usual suspects behind a leaky tub faucet:
- Worn-out washers or O-rings – These rubber seals compress every time you turn the handle. Over years of use, they harden, crack, or flatten out, which lets water seep past them.
- Corroded valve seats – The valve seat is where the faucet stem meets the spout. Mineral deposits from hard water can pit and corrode this connection over time.
- Damaged cartridges – Many modern faucets use a cartridge instead of a traditional compression valve. When the cartridge wears down, it can cause dripping even when the handle is fully off.
- Loose parts – Sometimes it’s not wear and tear at all, just a packing nut or connection that’s loosened up and needs a simple tightening.
- High water pressure – If your home’s water pressure runs too high, it can stress every seal in your plumbing system, including the ones in your tub faucet.
Knowing which of these applies to your situation will save you time and money, since it determines whether you need a five-dollar washer or a full cartridge replacement kit.
What Tools Do You Need Before You Start?
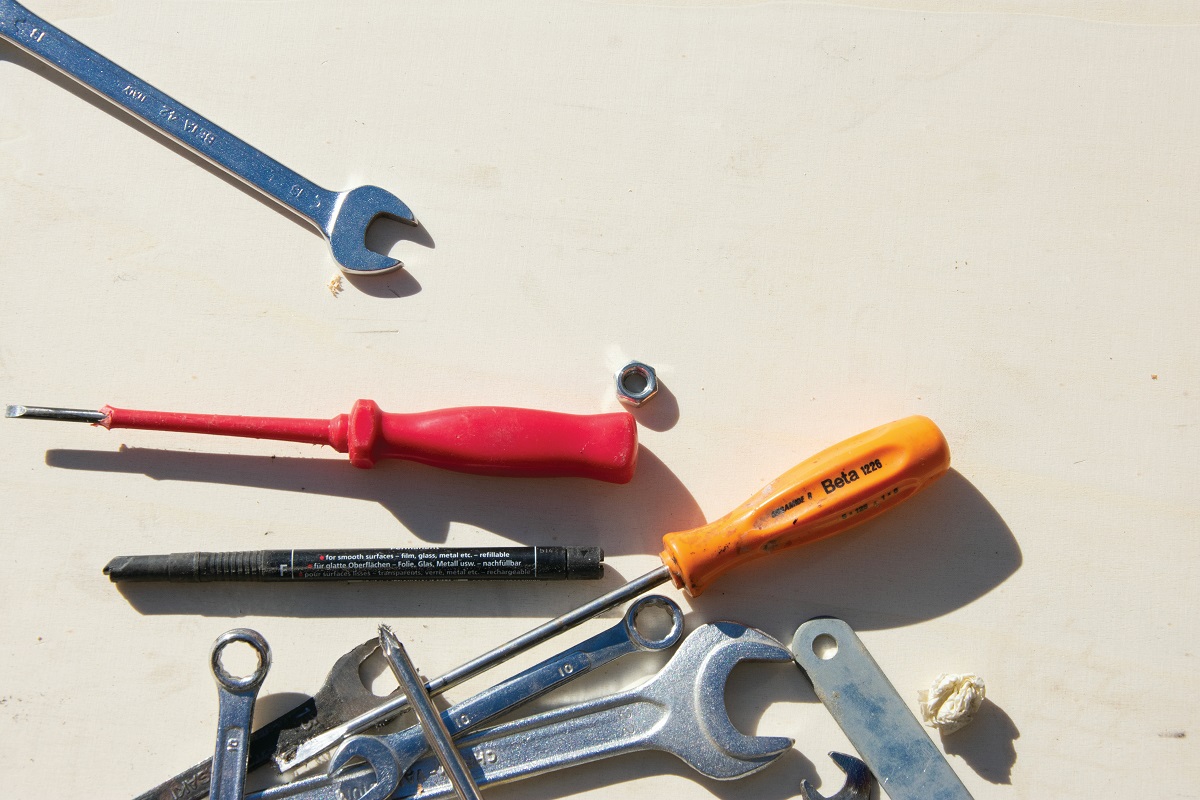
You don’t need a professional-grade toolbox for most bathtub faucet repairs. In fact, you can probably find everything you need at a local hardware store for under thirty dollars. Here’s what to gather:
- Adjustable wrench or channel-lock pliers
- Flathead and Phillips screwdrivers
- Allen wrench set (many handles use hex screws)
- Replacement washers, O-rings, or a cartridge kit matching your faucet brand
- Plumber’s grease
- A rag or towel
- A small container to hold screws and parts so nothing rolls down the drain
One more thing before you touch anything: shut off the water supply. For a tub faucet, this usually means turning off the main water valve to your home, since tub faucets rarely have individual shutoff valves like sinks do. Once the water’s off, open the faucet to release any pressure still in the line.
How Do You Diagnose Where the Leak Is Coming From?
Not all leaks are created equal, and where the water is escaping tells you a lot about what’s wrong. Take a few minutes to actually watch the faucet in action before you start disassembling anything. Ask yourself these questions:
- Is water dripping from the spout itself, even when the faucet is fully off?
- Is water leaking from around the handle when the faucet is running?
- Is there water pooling behind the wall or showing up as a damp spot on the ceiling below (if you have a floor above)?
- Does the leak only happen in one position, like hot or cold?
A drip from the spout with the faucet off usually points to a worn washer, O-ring, or cartridge. A leak around the handle while water is running often means the packing nut needs tightening or the O-ring around the stem needs replacing. Water showing up in unexpected places, like behind a wall, is a bigger red flag that we’ll get into later.
Step-By-Step: Fixing a Compression Faucet Leak
Compression faucets are the classic two-handle style, one for hot and one for cold, and they’re the most common type found in older homes. Here’s how to tackle a leak in one of these:
- Turn off the water supply to the tub and drain any remaining water from the pipes by opening the faucet.
- Remove the handle. This usually involves popping off a decorative cap, then unscrewing a Phillips or Allen screw underneath.
- Use your wrench to unscrew the stem assembly and pull it out.
- Inspect the washer at the bottom of the stem. If it’s cracked, flattened, or hardened, replace it with one that matches the size exactly.
- Check the O-ring around the stem as well. If it looks worn, swap it out too since you’re already in there.
- Apply a thin layer of plumber’s grease to the new parts before reassembling.
- Put everything back together in reverse order, then slowly turn the water supply back on and test for leaks.
This is one of the easiest repairs in home plumbing, and it’s a great confidence-builder if you’re just getting into DIY projects around the house.
Step-By-Step: Fixing a Cartridge Faucet Leak
If your bathtub has a single handle that controls both temperature and flow, you likely have a cartridge faucet. These are common in newer homes and tend to be a bit more involved to repair, but still very doable.
- Shut off the water supply and drain the lines.
- Pop off the handle cap, unscrew the handle, and set it aside.
- Remove the retaining clip or nut holding the cartridge in place. A pair of needle-nose pliers works well here.
- Pull the old cartridge straight out. It can be stiff, so a gentle back-and-forth wiggle usually loosens it.
- Bring the old cartridge with you to the hardware store, or note the brand and model, to make sure you buy an exact match. Cartridges are not universal.
- Insert the new cartridge in the same orientation as the old one.
- Reassemble the handle and trim, then turn the water back on gradually to check for leaks.
Getting the exact replacement cartridge is the most important step here. An ill-fitting cartridge can cause new leaks or make the handle feel loose and wobbly.
What If the Leak Is Coming From the Spout Itself?
Sometimes the leak isn’t from the handle mechanism at all but from the spout, especially on tub-shower combos with a diverter (the little lever that redirects water from the tub spout to the showerhead). A worn diverter can cause water to trickle from the spout even when the shower is running, or vice versa. To address this:
- Unscrew the spout from the wall pipe, usually by turning it counterclockwise, though some spouts have a small setscrew underneath that needs to be loosened first.
- Inspect the diverter mechanism inside for corrosion or mineral buildup.
- Clean it with a vinegar soak if buildup is minor, or replace the whole spout if the diverter itself is damaged, since diverters typically aren’t sold as standalone parts.
Spout replacement is inexpensive and takes just a few minutes once the old one is off, making it one of the more satisfying quick fixes on this list.
When Should You Call a Plumber Instead of DIYing It?
There’s no shame in calling in a professional, especially if any of the following apply to you:
- You’ve replaced washers, O-rings, or cartridges and the leak persists
- The leak seems to be coming from inside the wall rather than the visible fixture
- You notice low water pressure throughout the house alongside the leak
- Your pipes are old galvanized steel, which can be brittle and prone to cracking when disturbed
- You’re not comfortable shutting off your main water supply or working with plumbing tools
A plumber can also spot underlying issues you might miss, like a slow leak that’s already causing water damage behind your tile. Catching that early can save you thousands compared to dealing with mold remediation or structural repairs down the road.
How Do You Know When It’s Time to Replace the Faucet Entirely?
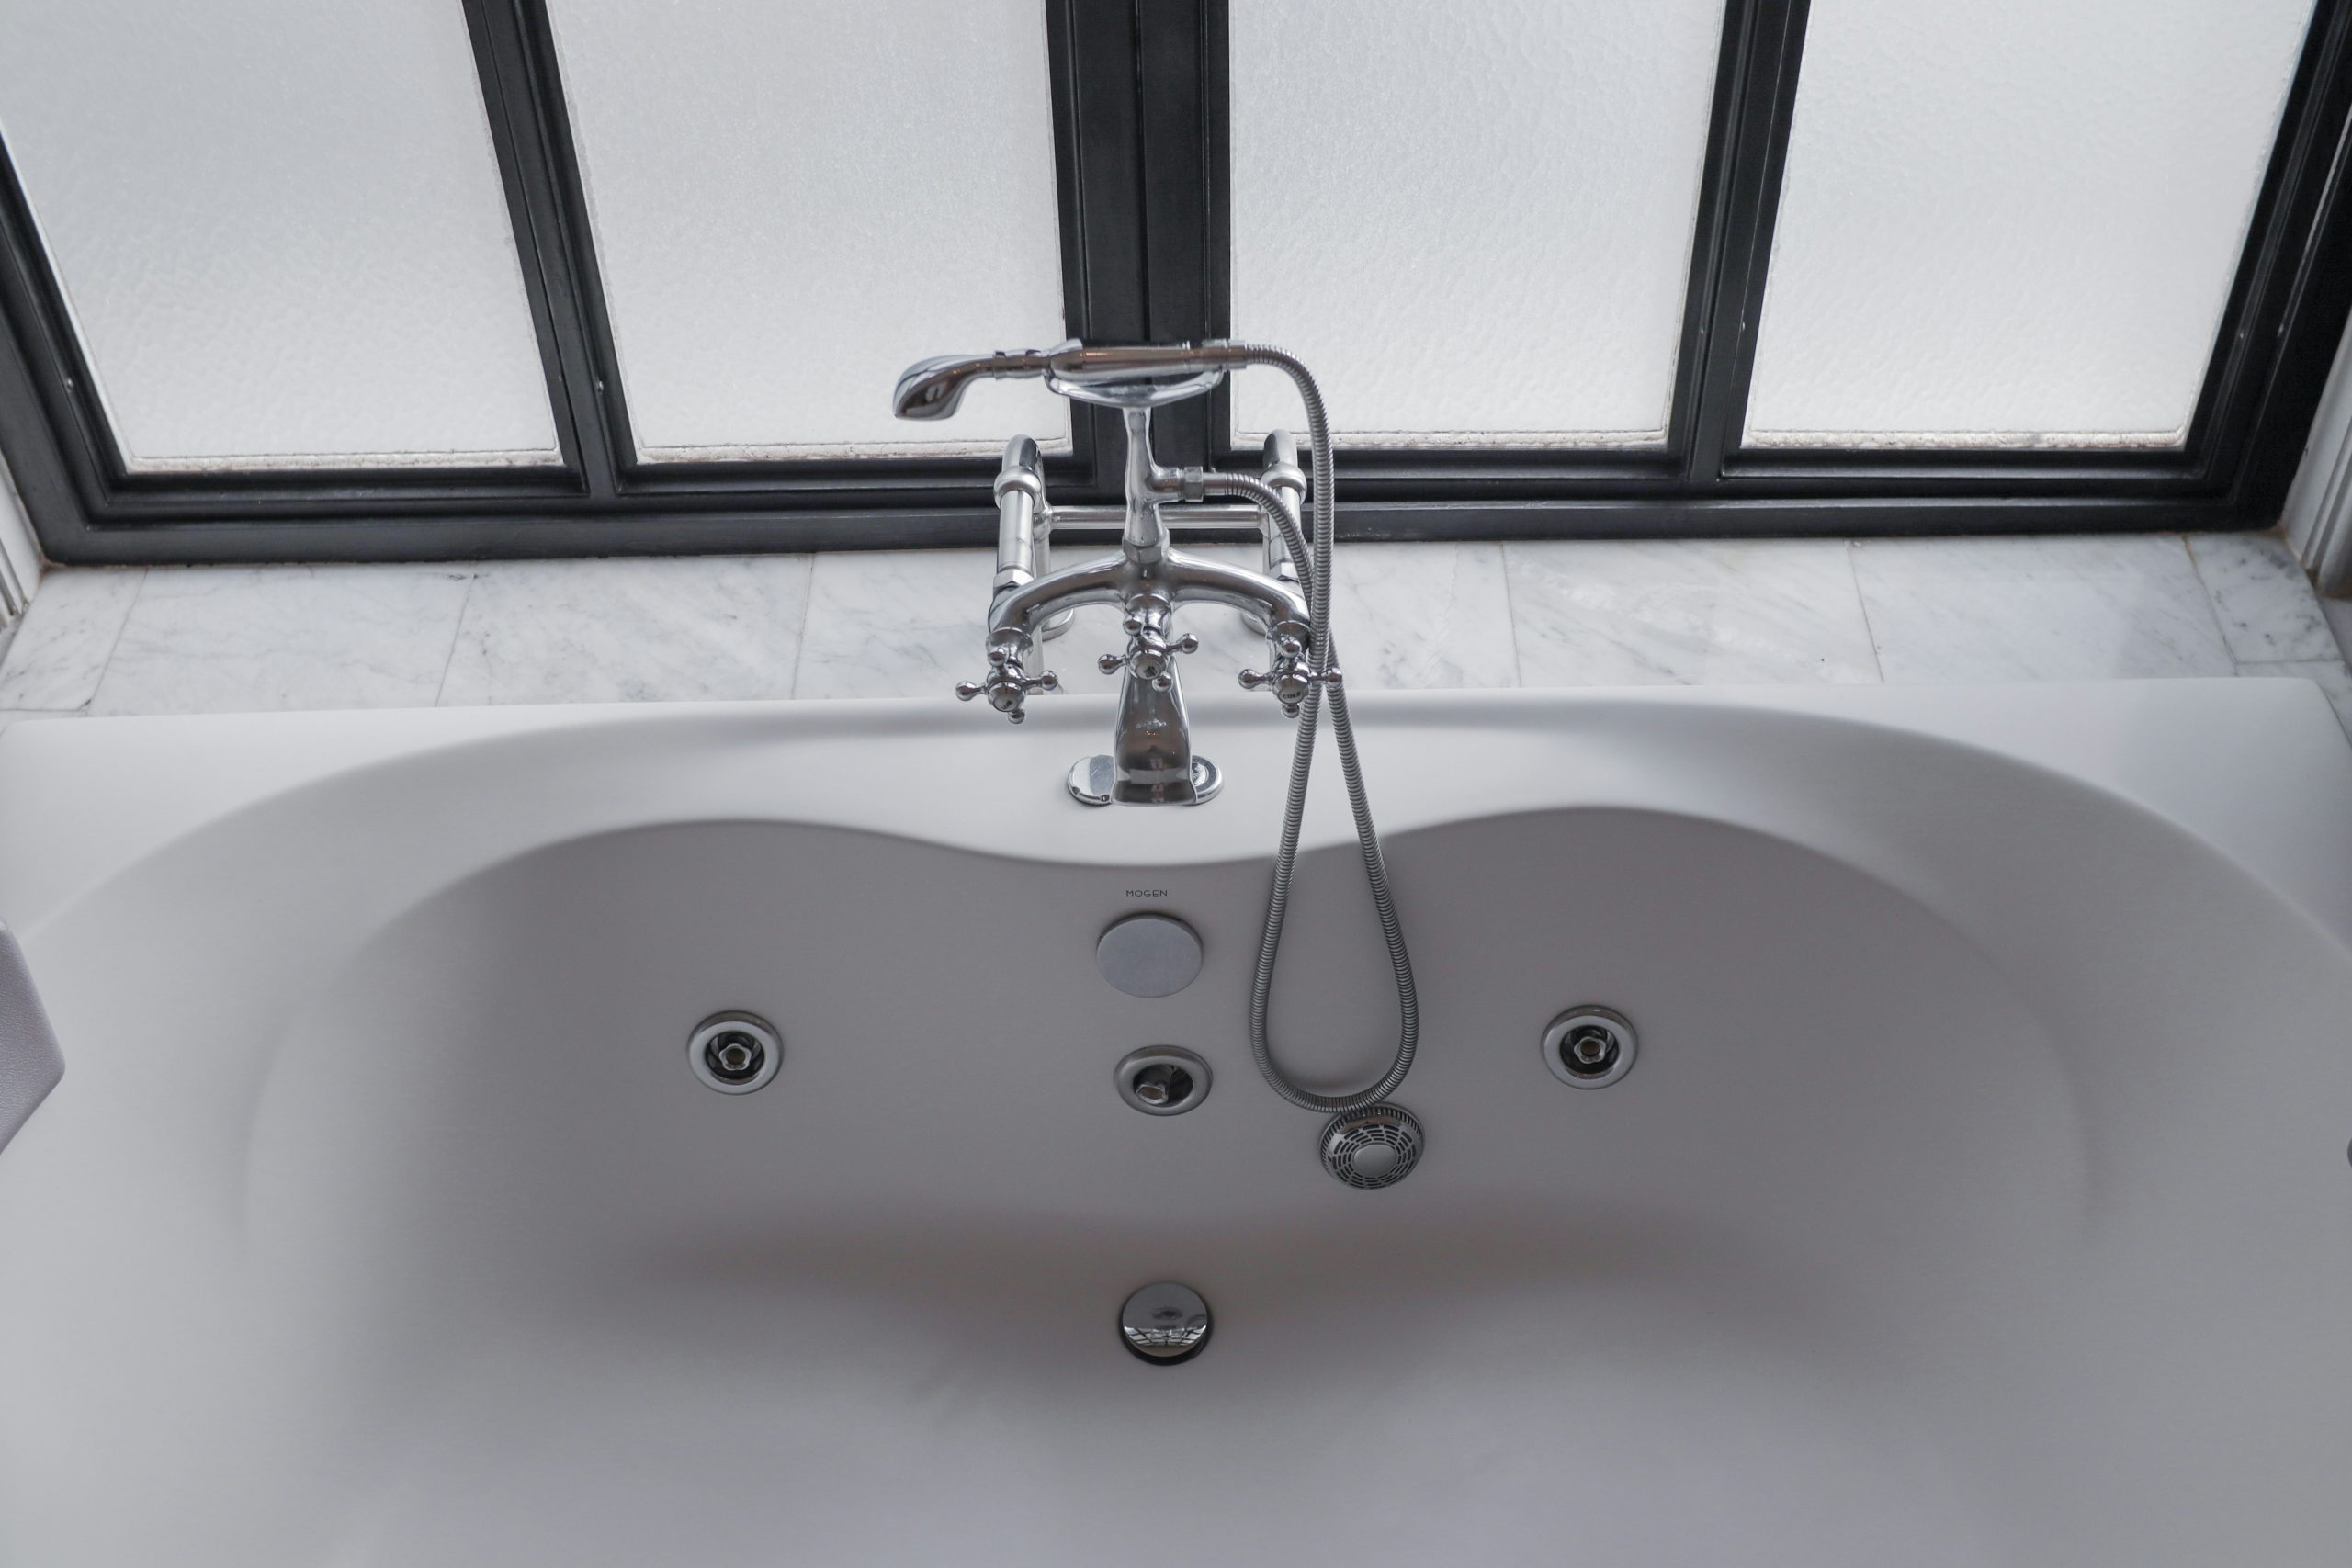
Repairing individual parts makes sense when the faucet itself is still in decent shape. But sometimes the smarter move, financially and practically, is to replace the whole unit. Here’s how to tell:
- You’ve repaired it more than once in the past year. If you’re constantly replacing washers or cartridges and the leak keeps coming back, the valve seat or the faucet body itself may be too worn to hold a proper seal.
- The faucet is visibly corroded or discolored. Green or white crusty buildup, rust stains, or pitting on the metal are signs of internal deterioration that a simple part swap won’t solve.
- Replacement parts are hard to find. Older or discontinued faucet models sometimes have parts that are no longer manufactured, making repairs more expensive and time-consuming than just replacing the whole fixture.
- The finish doesn’t match your renovation plans. If you’re updating your bathroom’s look, replacing an outdated faucet is a simple way to modernize the space without a full remodel.
- You’re dealing with recurring low water pressure. Sometimes internal corrosion restricts flow inside the faucet body itself, and no amount of cleaning or part-swapping fixes that.
- The handle feels loose or wobbly no matter what you do. This often points to worn internal threading in the faucet body, which isn’t repairable.
If you’re moving into a new place, this is actually a great opportunity to think bigger picture. Swapping out an old, leak-prone faucet is one of those practical improvements for your new home that pays off in lower water bills and fewer weekend repair projects down the line.
What Should You Look for When Buying a Replacement Faucet?
If you’ve decided replacement is the way to go, here’s what to keep in mind while shopping:
- Match your existing configuration. Measure the distance between valve connections and check whether you have a single-handle or two-handle setup so the new faucet fits your existing plumbing without major modifications.
- Choose solid brass construction where possible. Brass internals resist corrosion far better than cheaper plastic or zinc alloy components, meaning fewer leaks down the road.
- Look for a ceramic disc valve. These tend to last significantly longer than traditional rubber washer systems and require less maintenance overall.
- Check the finish for your bathroom’s humidity levels. Chrome and stainless steel typically hold up better in consistently damp environments compared to some brushed or matte finishes.
- Consider water efficiency ratings. Newer faucets are often designed to reduce water usage without sacrificing pressure, which is worth considering if lowering your utility bill is a priority.
Take your time with this decision since a quality faucet installed correctly can easily last fifteen to twenty years before needing attention again.
Can You Prevent Future Leaks Once You’ve Fixed or Replaced the Faucet?
A little maintenance goes a long way toward avoiding round two of this whole process. Consider these habits:
- Avoid over-tightening the handle when turning off the water, since forcing it can wear down washers and seals faster than normal use.
- Address hard water buildup regularly with a vinegar solution or a water softener system if your area has notably hard water.
- Keep an eye on your home’s water pressure and install a pressure regulator if it consistently reads above 80 psi.
- Do a quick visual check every few months for early signs of corrosion, dripping, or handle looseness before they become bigger problems.
These small habits can add years to the life of your faucet and help you catch small issues before they turn into expensive repairs.
Wrapping It Up
A leaking bathtub faucet is one of those household annoyances that’s almost always solvable, whether that means swapping out a five-cent washer or investing in a brand-new fixture. The key is diagnosing the actual source of the leak before you start, using the right replacement parts for your specific faucet type, and knowing when repeated repairs are a sign that it’s simply time to move on to something new. Either way, tackling it sooner rather than later will save you water, money, and the mild frustration of listening to that drip every single night.